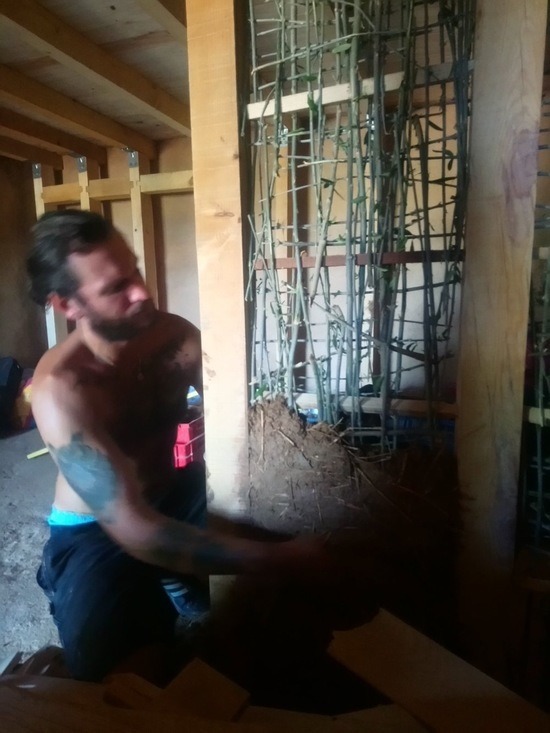
Mother Earth News has a nice little article about how to go about doing wattle and daub walls. The first step when building a wattle and daub wall is to construct the wooden frame that the wattle will be attached to. This needs to be securely attached to the rest of the building.
The next step is to fit parallel bars which will hold the woven wood and these can be either vertical or horizontal. You might be able to drill holes in the rigid frame that will accept the bars. They do not have to be 100 percent secure as the weaving wood will strengthen the matrix.
The weaving is the fun part, where the artistic feel of the wall comes together. You need to make sure the wood you are using to weave with is flexible enough to weave between the bars you have fitted. The closer your bars are, the more flexible the wattle needs to be.
You can keep adding wattle until there is no more space left to weave. The more gaps and holes you have in your wall, the harder it can be to get the cob to hold in place.
The next step is to apply your cob, or daub. Some straw in your cob mix will help as you can push the straw in and around the wattle to hold it in place. It is generally best to work from bottom to top as the cob you have placed below will support that above. This is the time to start shaping the wall as you want it to appear. Make sure to work right up to the edges, leaving no air space between your cob and the wooden frame. Smooth off and mold the wall by hand.
That is basically all there is to it. Final finish plasters can be used for the final appearance.

I’m looking forward to build using this method in Kakamega. I hope it will set in motion interest from others.
Thank you Kelly
Am going to add cob to my little tipi made of woven palm leaves and bamboo
At 3 Moons project!