This is not your typical completely buried, stone-encased, hand-dug cavern from the 19th century. This is a much simpler, quicker, and more modern method yet still effective.
Things you’ll need: 3 steel cans with lids, a shovel, plywood, scrap wood, roofing screws, 6-inch deck screws, scrap insulation material, straw, sandbags, and lots of dirt.
Step #1: Dig a big hole
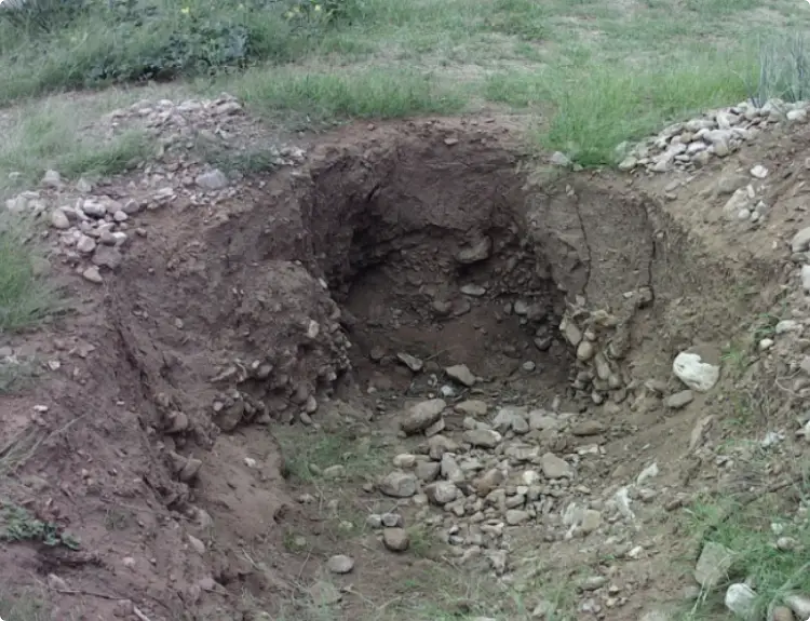 You’ll need the hole to be as deep as the can. Just the lid should be above ground. Make it as wide as the space needed for the cans to sit side-by-side and still be able to remove the lids easily.
Step #2 – Place the cans in the hole and fill it up
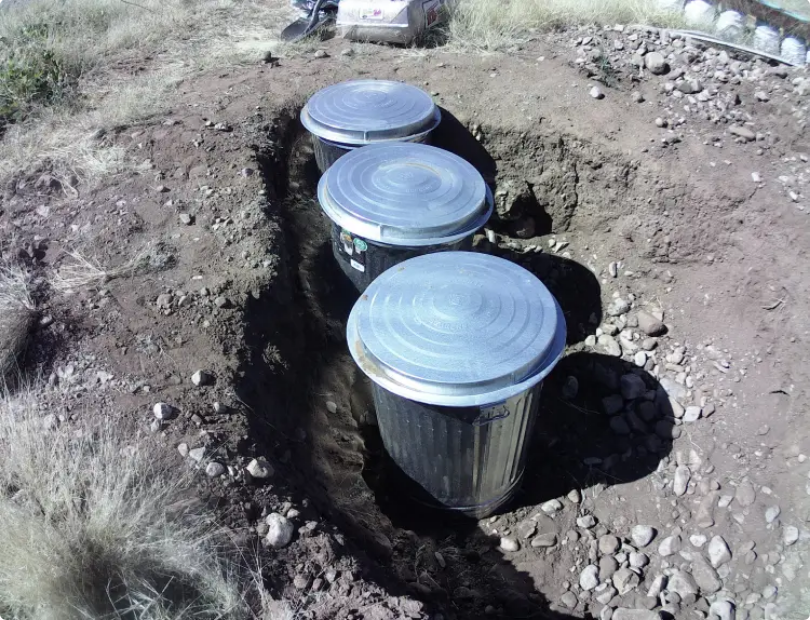
Step #3 – Build a low earthbag wall around the buried cans
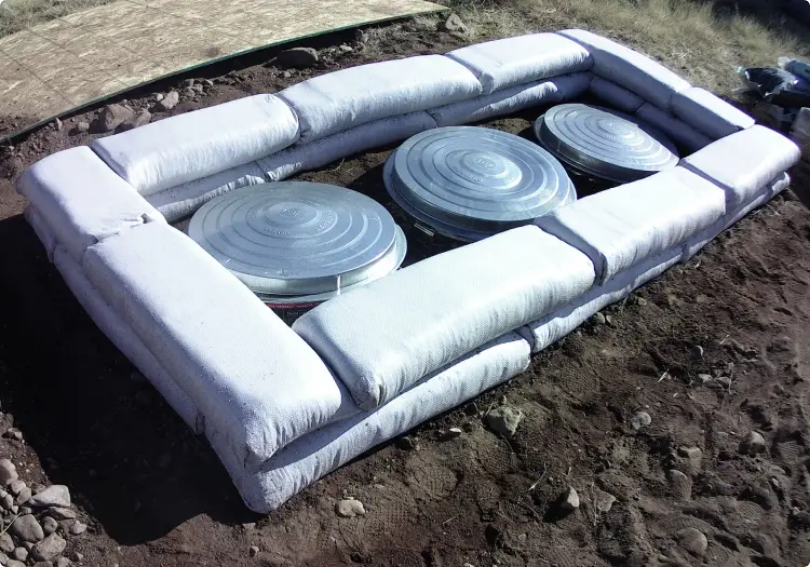 These are the 12 in x 38 in tube sandbags that worked well for this application but can be quite heavy when filled. They can be filled in place. Here there are two courses and it came out to about ten and a half inches high.
Plaster the outside of the finished wall; the bags will breakdown in extended sun exposure.
Step #4 – Put a wooden beam around the top
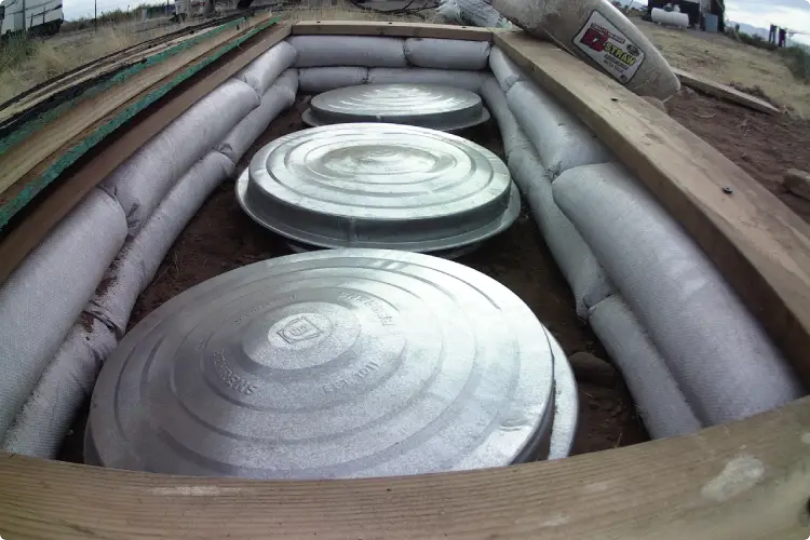 This is to keep the lid to the root cellar from sliding back and forth over the bags.
Step #5 – Build an insulated lid
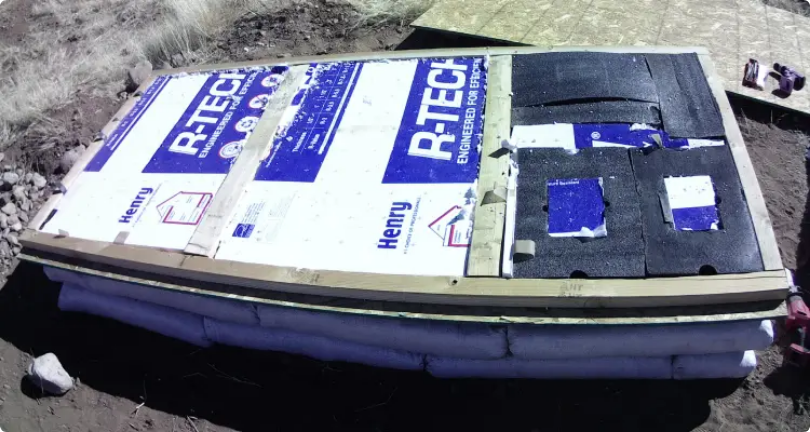 You can use scraps for the insulating materials. You can use roofing screws to attach the top OSB and then paint on emulsified asphalt to tar it over giving it more protection from the elements.
Step #7 – Store produce!
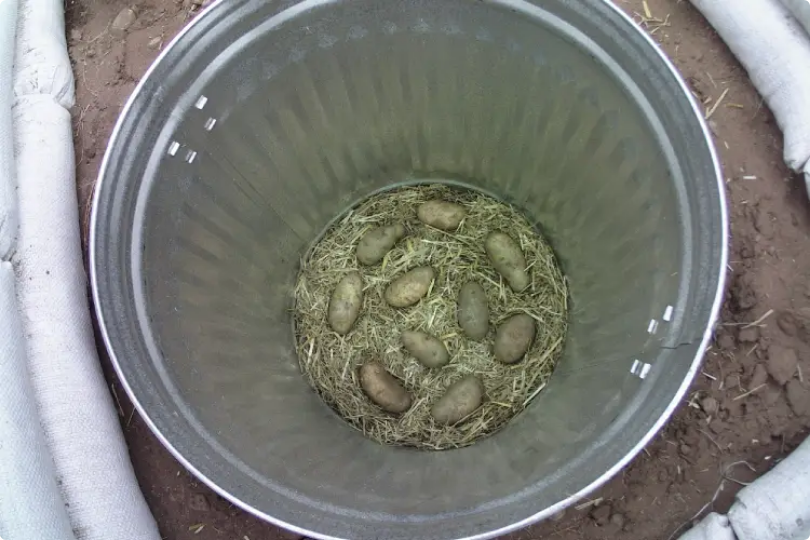 This is where the straw comes in. It acts as an insulator. Put some down in the empty can. Then you can put some potatoes over that, followed by another layer of straw. Make sure that the produce doesn’t touch so that if one rots it won’t immediately affect the others. Then you just keep layering like this with straw in between each layer of produce. That’s it!
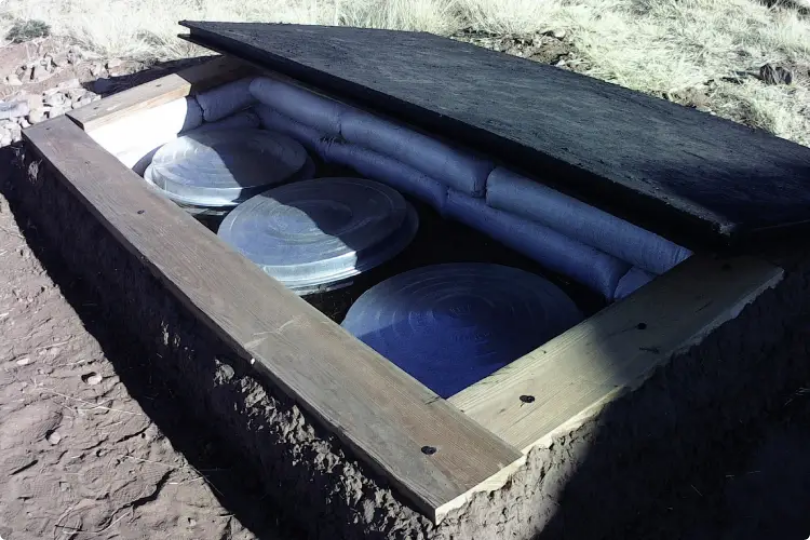
Sorry , I don’t get it , where do the people go – I don’t see anywhere for people to get ! I thought it was going to be in the cans and then you filled with straw and potatoes !
People would stand outside the covered roof area, and remove the big lid before accessing the cans of produce.